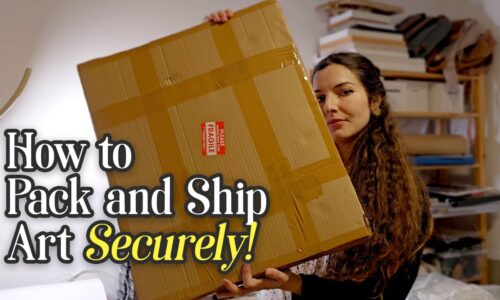
Hey, lovelies! 🥰 In this Patreon Exclusive guide, I’ll show you my go-to method for packing and shipping artwork so it arrives safely – even if it’s traveling halfway across the world! ✈️ It’s super easy, doesn’t take long, and most importantly, keeps your art nice and secure. Let’s get started! 🎨💖
What You’ll Need:
Cardboard (the sturdy kind, not the flimsy stuff) 📦
Bubble wrap
Two masonite boards (trust me, they’re lifesavers)
Tape (lots of it!) 🏷️
Stapler (optional, but it’s like having a little helper)
Scissors ✂️
Extras like thank-you notes or postcards 🌸
Fragile stickers (they actually work, promise!)
Step-by-Step
Protect the Artwork 💪:
Sandwich your artwork between two masonite boards.
Make sure the boards are 0.5 – 1 cm larger than the artwork on all sides—just enough room to protect it but not so much that shipping costs explode!
Tape the boards together so your artwork is nice and snug.
Make a Custom Cardboard Box:
Lay your artwork on a big enough piece of cardboard.
Trace around the boards, then use scissors or a knife to lightly scratch the traced lines. This makes folding the cardboard way easier!
Add borders around the shape to create a box (think of it like wrapping a present 🎁). Cut and fold into shape.
Assemble the Box 🎯:
Staple or tape the sides of the box. (Staplers are my secret weapon here! 😏)
Test the fit—don’t worry if it’s not perfect at first, I mess up sometimes too. 😅 Just adjust as needed!
Throw in some fun extras like postcards or a cute thank-you note! 💌
Secure Everything:
Fold the inner borders inward for extra protection.
Cut out a lid, pop it on top, and tape it up like your life depends on it. 😂
I like to double-tape all four sides, just in case. (Better safe than sorry, right?)
Finish with Flair 🎀:
Put on a fragile sticker!
Step back, admire your cute and functional box, and send it off into the world! 🌍💫
Hope that helped and you now know how to ship art safe and sound! 😁
Curriculum
- 1 Section
- 1 Lesson
- Lifetime
Instructor